Create or edit a blog
As a Page administrator, you design your Pages by adding widgets. Then, you can create and edit the widget's content.
There are two ways to edit a Blog widget:
- Add a new entry.
- Edit an existing entry.
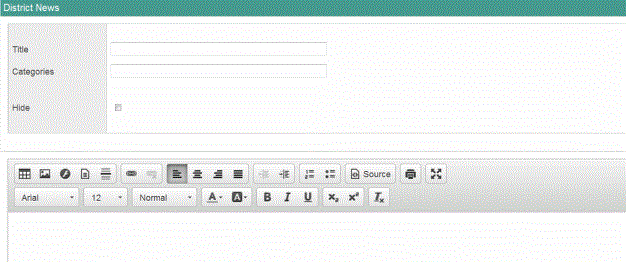
To add a new blog entry:
- Click New Entry in the title bar of the blog.
-

- In the Title field, type the title (appears at the top of the entry).
-

- In the Categories
field, type a category for this entry.
Note: Users can filter  a set of criteria to selectively screen out incoming information, such as "all active students" or "former students"
the entries they see by these categories. For example, if you have
a daily blog item, you can create a category named Daily for these entries. Or, create a category for the different units or lessons you will be blogging about.
- Select Hide to make this entry inactive. Only Page administrators can view the entry when this is selected.
- Type the entry,
using the rich
text editor tools, if desired.
Notes: There are several ways you can enhance the design of your blog entry:
- Insert hyperlinks to articles or websites for users to review.
- Insert images.
- Embed a video to help communicate a message.
- Click Save.
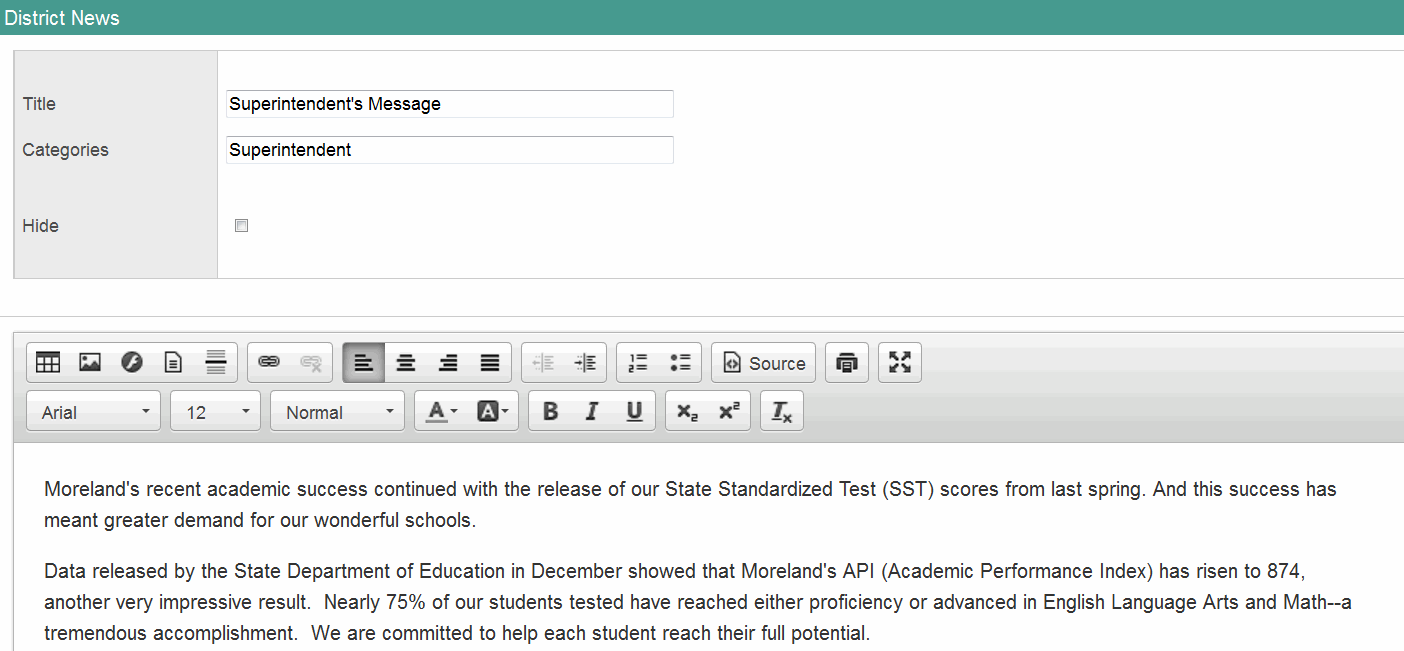
To edit an existing blog entry:
- Click
 next to the entry.
 -

- Using the rich text editor tools, make any changes to the entry.
-

- Edit the Title and Category of the entry.
- Click Save at the bottom of the pop-up.
Note: To delete an entry, click Delete at the bottom of the pop-up.
